Phone photography tips for small business photos
Take better product, food and space photos on your phone: light, angles, camera settings, styling, light editing and a 30-minute shot list.
By James Olawale · · 7 min read
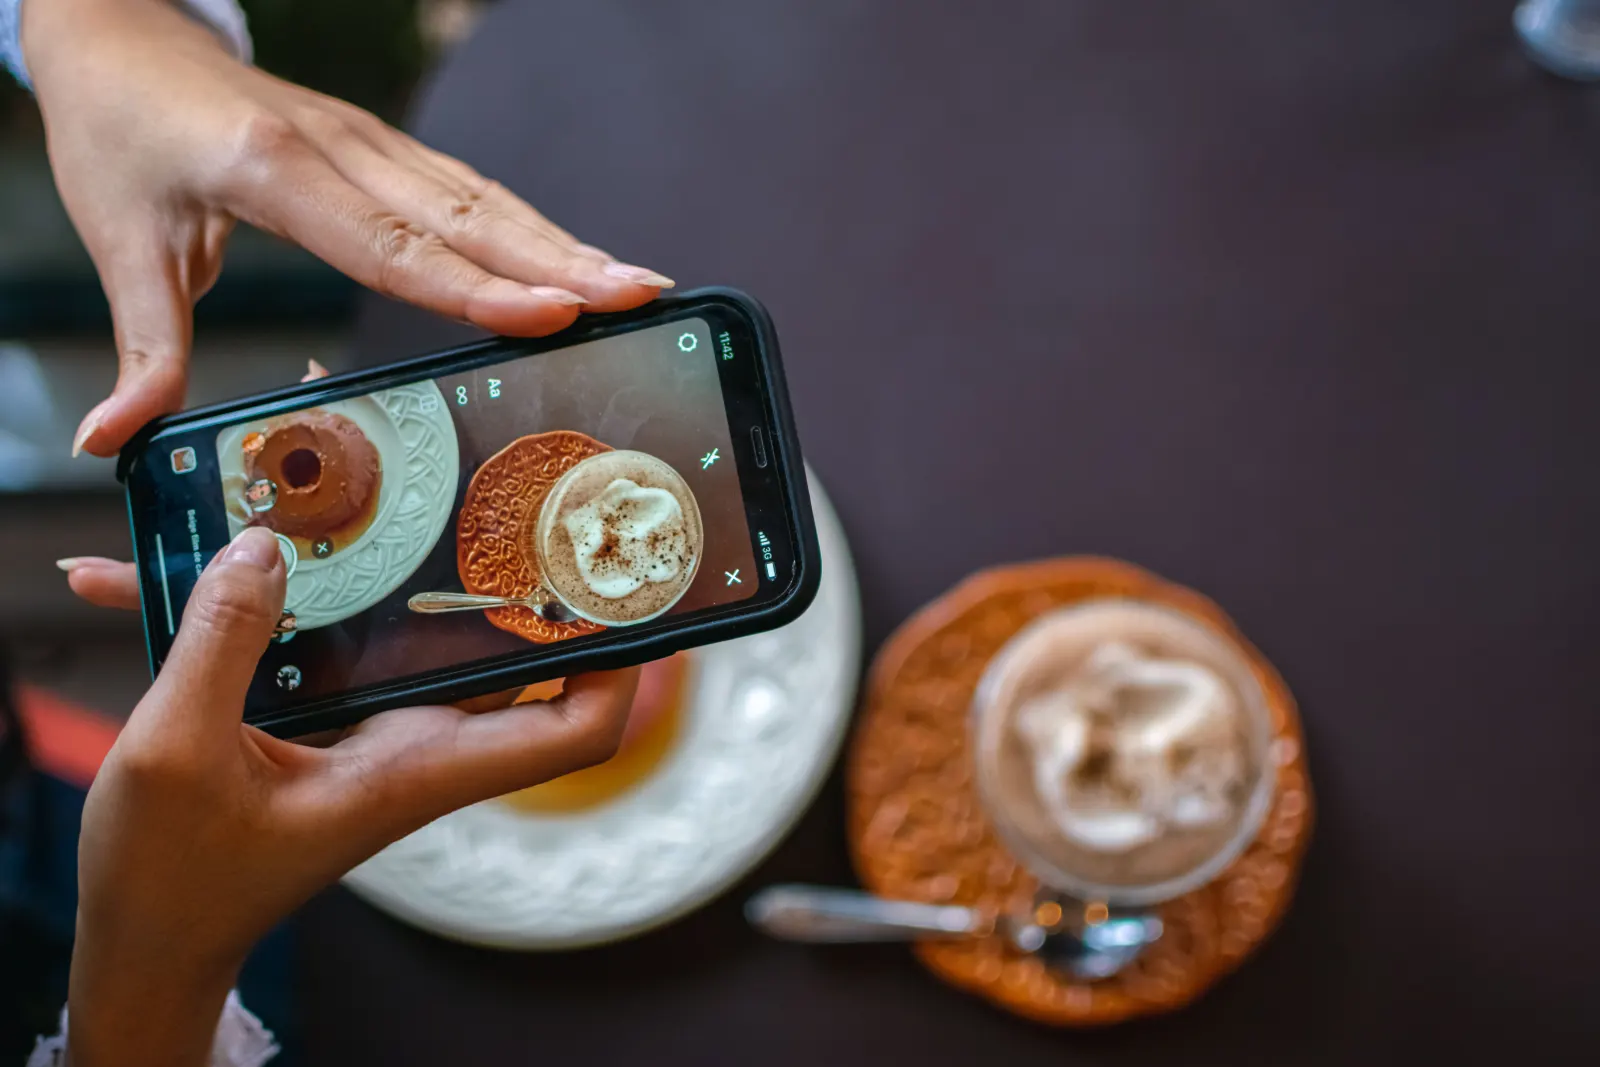
You can take professional-looking photos for your small business with the phone you already own. The four things that matter most: wipe the lens, shoot in soft daylight near a window, pick the right angle for the subject (top-down for flat food, 45 degrees for drinks and plates, eye level for products and spaces), and keep the background clean. Then make small edits to brightness and warmth. Below is a step-by-step guide, angles by subject, and a shot list you can work through in 30 minutes.
1. Clean the lens first, every time
This is the single fastest fix. Phone lenses pick up fingerprints and kitchen grease constantly, and a smudge makes every photo look hazy and soft, with glowing halos around lights.
- Wipe the lens with a microfiber cloth or a clean, soft cotton shirt before each session.
- Check the lens again if your photos suddenly look foggy.
- Avoid paper towels, which can leave fibers.
2. Use soft, natural light
Light makes or breaks a photo. Good light is soft, even and comes from the side.
- Shoot near a window. Put the product on a table a few feet from a window, with the light coming from the side or slightly behind it. Side light shows texture: the crumb of bread, the layers of a haircut, the grain of wood.
- Avoid harsh midday sun. Direct sun creates hard shadows and blown-out white areas. If the sun hits the table directly, hang a thin white curtain or sheet of baking paper over the window, or move back from it.
- Turn off overhead lights. Mixed lighting (warm ceiling bulbs plus daylight) gives an orange or green cast that is hard to fix. If you must shoot at night, use one light source only.
- Do not use the flash. It flattens food and makes skin and surfaces shiny.
- Bounce light into shadows. Hold a white menu, a piece of white card or a napkin on the side opposite the window to lift dark shadows.
The best time for most businesses: mid-morning or mid-afternoon, before you open or during a quiet hour.
3. Choose the right angle for the subject
| Subject | Best angle | Why |
|---|---|---|
| Pizza, bowls, flat lays, a full table | Straight down (top-down) | Shows the whole layout and shapes |
| Plated meals, cakes, sandwiches | 45 degrees, roughly how a diner sees it | Shows height and the front of the dish |
| Drinks, burgers, tall cakes, stacks | Eye level, side on | Shows layers and height |
| Products on a shelf or table | Eye level or slightly above | Feels like holding it in a shop |
| Hair, nails, makeup results | Eye level, in front of a plain wall | Shows the result without distortion |
| Your space or storefront | Chest height, phone straight, not tilted | Keeps lines straight and the room natural |
| People at work | Slightly below or at eye level | Feels respectful and natural |
Try three angles of everything. You will be surprised which one wins.
Avoid the wide-lens bulge
The main lens on most phones is wide. Getting very close distorts things: the front of a plate looks huge, faces look stretched. For close-ups, step back and use the 2x or 3x lens if your phone has one, or crop in afterward. It gives a flatter, more flattering look.
4. Set up your phone camera
A few settings make a big difference. Names vary a little between iPhone and Android.
- Turn on the grid. iPhone: Settings, Camera, Grid. On most Android phones, it is in the camera app's settings. Use it to keep lines straight and place your subject on a third.
- Tap to focus, then adjust brightness. Tap the subject to focus. On iPhone, slide the sun icon up or down; on Android, use the brightness slider that appears. Slightly darker is easier to fix than too bright.
- Lock focus and exposure when you take several shots of the same setup. Press and hold on the subject (AE/AF Lock on iPhone).
- Use Portrait mode carefully. It blurs the background nicely for people and single products, but can make odd edges around glasses, steam or hair. Check the edges before you post.
- Shoot in the highest quality setting your phone offers, and avoid digital zoom past the lenses you have; crop later instead.
- Hold steady. Brace your elbows on the table, or use a small tripod. For top-down shots, stand on a sturdy step stool.
5. Style the shot
Simple beats busy. You want the eye to land on the product right away.
- Clear the background. Remove napkins, bottles, receipts, phone chargers and anything with someone else's logo.
- Use a plain or textured surface. Wood, marble, linen or a matte board. Keep two or three favorite surfaces and reuse them so your feed looks consistent.
- Add one or two props that tell a story: a fork, a coffee cup, a pair of scissors, a raw ingredient. Not ten.
- Show texture and life. A bite taken, a pour mid-flow, sauce dripping, steam rising, a hand reaching in.
- Clean the plate edges and product. Wipe smudges, crumbs and fingerprints off plates, glass and packaging.
- Frame with space. Leave room around the subject so Instagram's crops (square, 4:5 portrait, 9:16 for Reels and Stories) do not cut off important parts.
6. Edit lightly
Editing should make the photo look like what you saw, not like a filter. Use the phone's built-in editor; it is enough.
Edit in this order:
- Straighten and crop. Level horizons and shelf lines. Crop to 4:5 portrait for the Instagram feed, which takes up more screen than a square.
- Exposure or brightness. Lift until the photo looks bright and fresh, not washed out.
- Shadows and highlights. Lift shadows a little, pull highlights down if the whites are glaring.
- Warmth. Food usually looks better slightly warm. Salons and clinics often look best neutral, so whites stay white.
- Saturation. Leave it, or add a touch. Too much makes food look fake.
- Sharpness. A small amount at most.
Save your settings, or note them, and apply similar edits to every photo so your grid looks like one business. Never edit a product to look different from what customers will get. People notice, and it costs trust.
7. A 30-minute shot list
Do this once a week during a quiet hour. You will leave with enough photos for a week or more.
| # | Shot | Angle | Use it for |
|---|---|---|---|
| 1 | Your best seller, alone on a clean surface | 45 degrees | Product post, menu, website |
| 2 | Same best seller, top-down with one prop | Top-down | Carousel slide, email header |
| 3 | A close-up of texture (crumb, foam, fabric, finish) | Close, 2x lens | Story, carousel detail |
| 4 | Hands making or finishing something | Eye level | Behind-the-scenes post |
| 5 | A team member at work (with permission) | Eye level | People post |
| 6 | The space, wide, lights on, tidy | Chest height | Google profile, Facebook cover |
| 7 | Your storefront or entrance from the street | Across the street, straight on | Google profile, "find us" posts |
| 8 | A new or seasonal item | 45 degrees | Offer or launch post |
| 9 | A customer moment (with permission) | Natural | People post, email |
| 10 | 3 short video clips, 5–10 seconds each | Vertical | Reels and Stories |
Shoot each one three times from slightly different angles. Pick the best later.
Tips by business type
- Restaurants and cafes: shoot dishes as soon as they are plated, before steam and shine disappear. Wipe the rim. Natural light at a window table.
- Bakeries: cut into one item to show the inside. Shoot shelves early, when they are full.
- Salons and barbers: use a plain wall or backdrop for results, the same spot every time. Shoot the back and side, not just the front.
- Gyms: shoot classes from the side of the room, at chest height, during a busy moment. Ask members before featuring them.
- Clinics: clean, bright, neutral color. Show the space, the team and equipment; never show patients without written consent.
- Shops and boutiques: shoot new stock on a plain surface and on a person or in a styled corner. Show scale with a hand.
Use your photos everywhere
One good photo can be an Instagram post, a Facebook post, a Story, an email header and a photo on your Google Business Profile. Add your best 10 to Google: photos of the outside, inside, products and team help people decide to visit. Our Google Business Profile optimization guide covers which photos to upload.
For what to post with your new photos, see how to write Instagram captions, Instagram Reels ideas and our content calendar template.
Good photos also matter if you use a tool to post. Scala designs posts in your own look from your photos, so the better your photos, the better every post. You approve each one before it goes out.
Frequently asked questions
Can I take professional product photos with my phone?
Yes. Modern phone cameras are more than good enough for social media and websites. The results depend far more on clean lenses, soft window light, a tidy background and the right angle than on the camera itself.
What is the best light for phone photos of food or products?
Soft, natural daylight from a window, coming from the side, is best. Avoid direct midday sun, overhead bulbs mixed with daylight, and the flash, which all create harsh shadows or odd colors.
What angle should I use to photograph food?
Use top-down for flat dishes like pizza, bowls and spreads, 45 degrees for most plated meals, and eye level for tall items like burgers, drinks and layered cakes. Take all three if you are unsure and compare.
Should I edit my business photos?
Yes, lightly. Straighten, crop, brighten and adjust warmth so the photo looks like what you saw. Avoid heavy filters or edits that make products look different from what customers will receive.